

Learn to grow hydroponic lettuce in 9 easy steps! Enjoy soil-free gardening and harvest fresh, chemical-free lettuce in 6-8 weeks. Great for beginners! Get your hydroponic starter kit on Amazon 🛒
Are you ready to revolutionize how you grow fresh lettuce at home? 🥬
Want to join the booming hydroponic revolution that’s expected to reach $32.10 billion by 2033? Let me show you how to grow crisp, nutritious lettuce without soil!
Why Choose Hydroponic Lettuce? 🤔
Did you know? The hydroponic lettuce market is projected to hit $2010.6 million by 2033! Here’s why it’s becoming so popular:
- 90% more water-efficient than traditional farming
- Grows up to 3x faster than soil-grown lettuce
- No pesticides or harmful chemicals needed
- Perfect for indoor growing year-round
- Rich in vitamins K and A
Get your hydroponic starter kit on Amazon 🛒
What is Hydroponic Lettuce Growing? 🌿
Hydroponics is a modern farming method where plants grow in nutrient-rich water instead of soil.
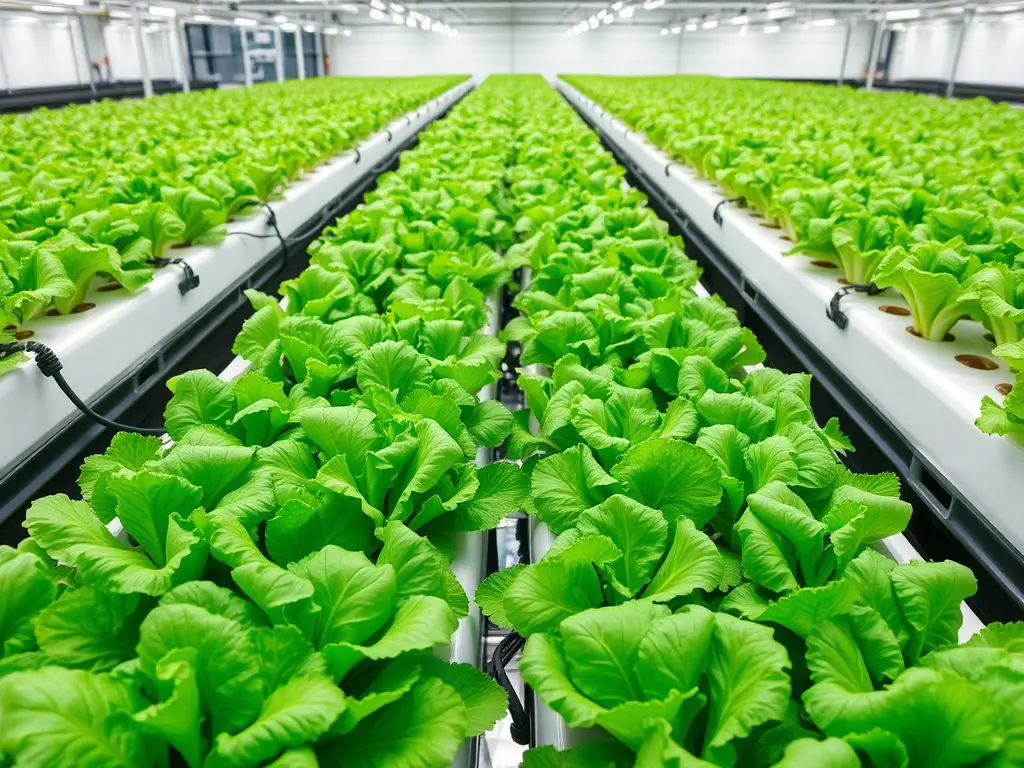
Recent studies from treehugger show that hydroponic lettuce (Lactuca sativa) has the same nutritional benefits as soil-grown lettuce.

There are also some extra advantages:
- Up to 40% profit margins for commercial growers
- 30-day growth cycle from seed to harvest
- Year-round growing ability
- Cleaner, pesticide-free produce
9-Step Guide to Growing Hydroponic Lettuce 📝
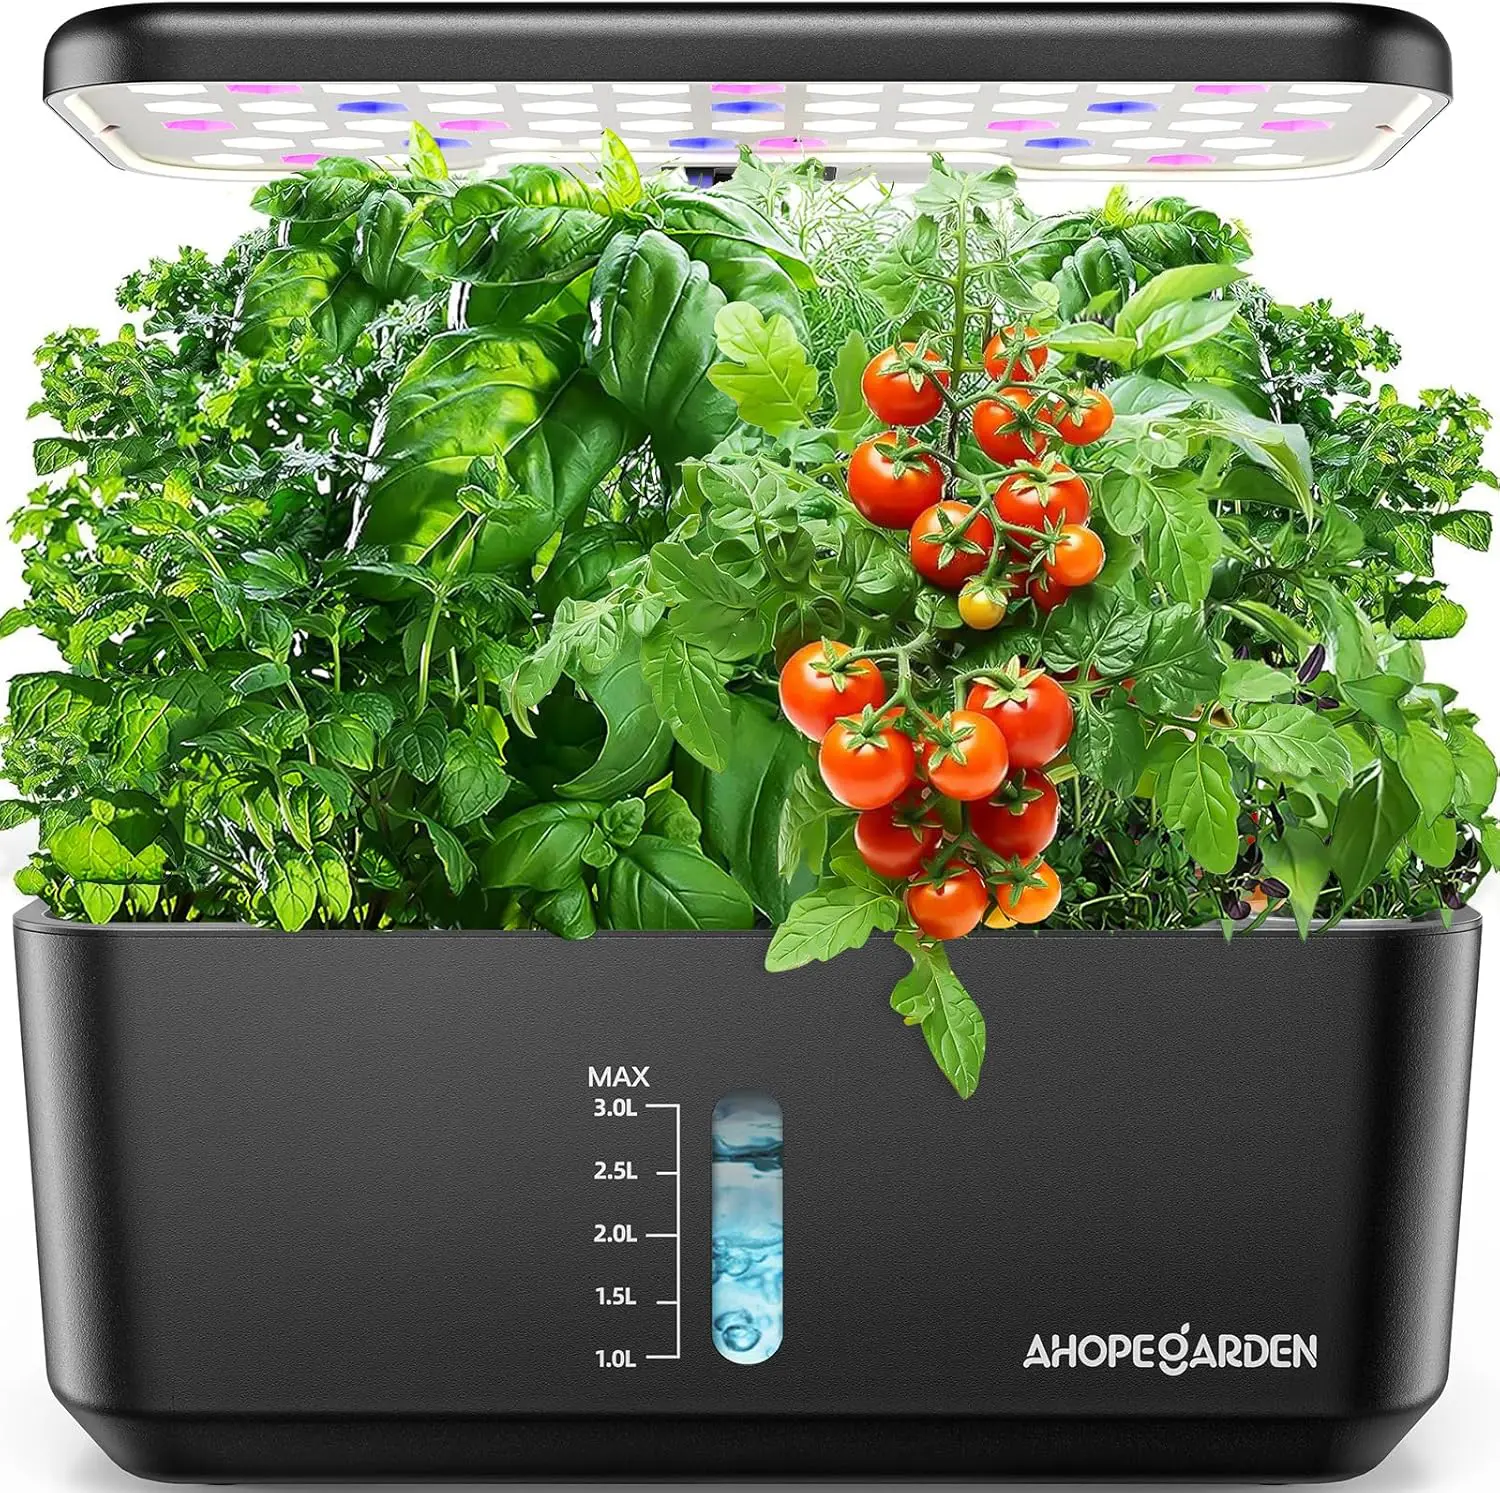
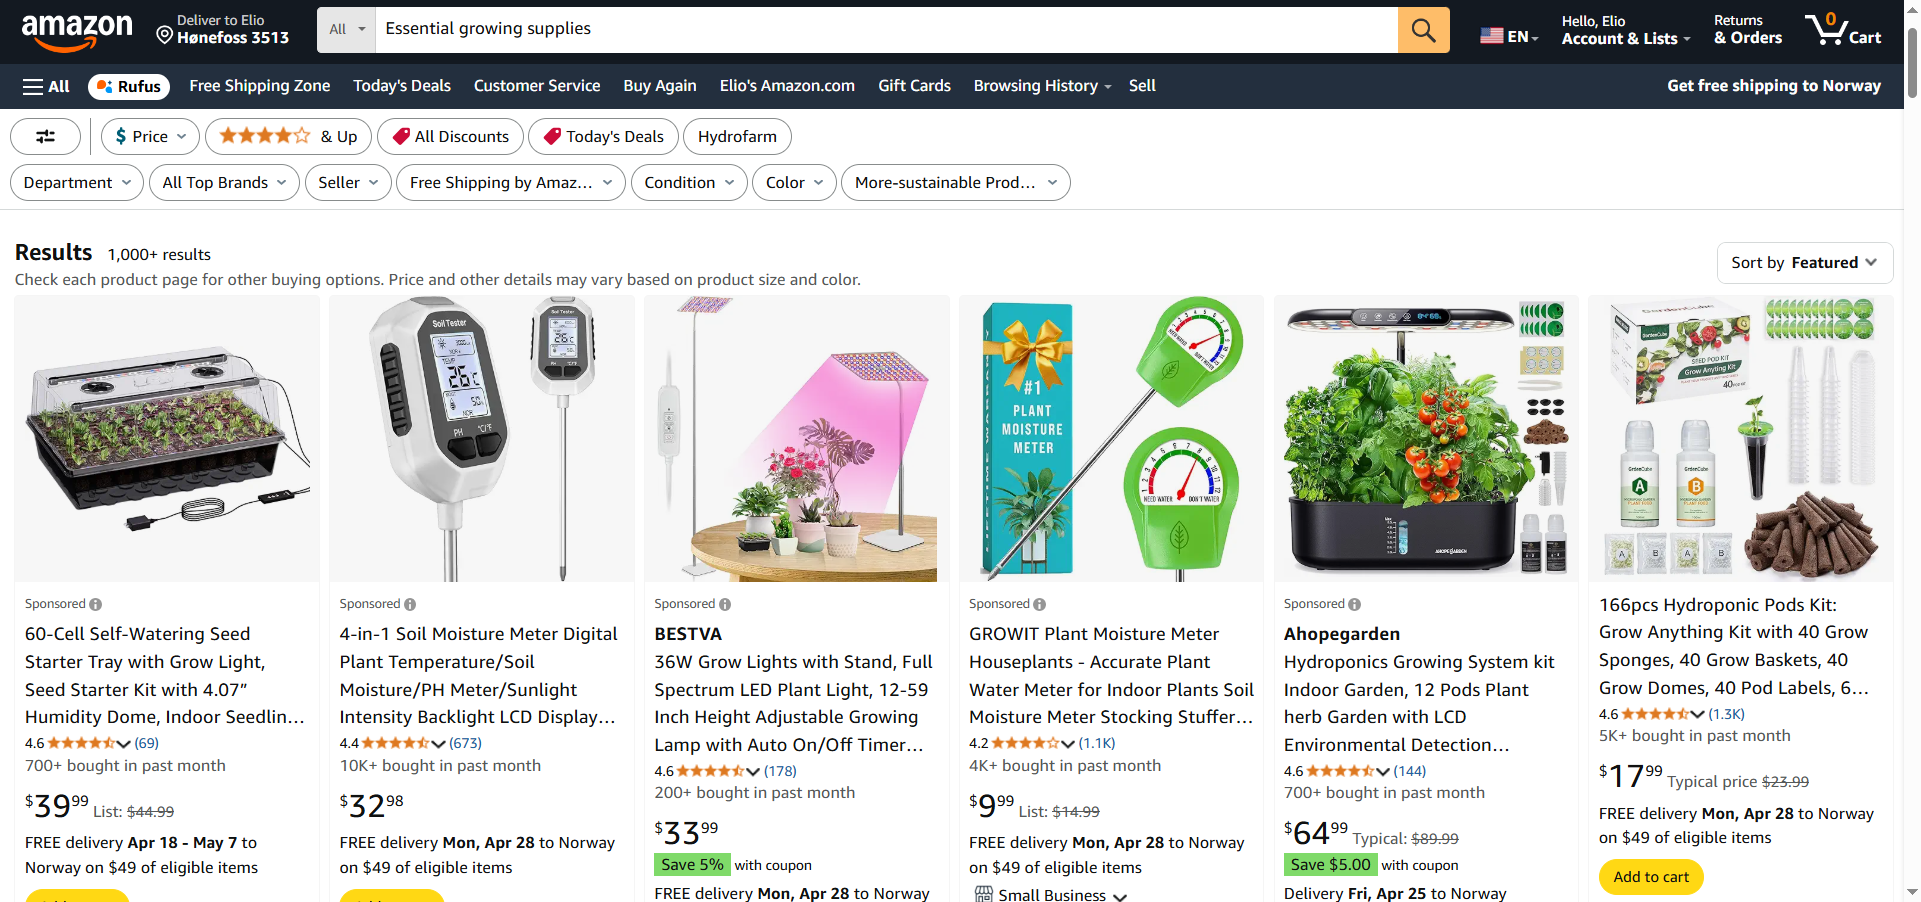
What You’ll Need:
- 1 hydroponic box (28x19x14cm) with 6+ holes
- 6+ net cups
- Rockwool cubes or growing sponges
- Air pump with tubing kit
- Seeds and nutrients
- Check out our recommended starter kit
Step-by-Step Instructions:
9-Step Guide to Growing Hydroponic Lettuce 📝
Step 1: Soak the Seeds 💧
Start by soaking the lettuce seeds (or any other seeds you choose) for 3-6 hours. Allow them to sit in a box filled with water overnight.
Step 2: Prepare the Sponges 🧽
Take all the sponges and squeeze out the air. Rinse them in the sink a few times using warm water. Let them soak in chlorinated water for two hours. After that, remove the chlorine and leave them in water overnight.
Step 3: Plant the Seeds 🌱
Put the sponge cubes in a box or an ice cream bucket. Insert the seeds near the top about 2-3 mm deep. Add a little bit of water until the roots start coming out from the bottom of the sponge. If you’re starting with seeds from soil, skip to Step 7 for tips.
Step 4: Add Nutrient Solution 💧🍃
Put the cups into the bottom of the tank. Pour the appropriate amount of nutrient solution, aiming for a level of about 2 cm (0.7 in) or 2 ml (0.07 oz) for every liter (0.2 gal) of water.
Step 5: Find a Sunny Spot ☀️
Place the planting box in a sunny area or under red growing lights (224-300 watt lights work well). You can also set it on your windowsill. Keep the temperature between 60-70°F (15-21°C), as warmer conditions limit oxygen retention in the water. The seeds will start to grow after about two weeks. After this period, remove the sponges with seeds from the tank.
Step 6: Set Up the Air Pump 🌬️
Set up the tubing, removing the air stone first. Thread the air hose through a hole on top of the smaller hole, then reconnect the air stone. Make sure the air pump has a check valve to prevent water backflow. Connect your air pump and run it for 8 hours every day for optimal oxygenation.
Step 7: Position the Cups 🍯
Place the planting cup into the planting hole. Fill the tank with water until it just reaches the bottom of the net pot. This keeps the sponges moist. Once the plants develop hanging roots, you can lower the water level to about 12.7 mm (half inch). Add the nutrient solution to the water—around 2 cm (0.7 in) or 7 ml (0.24 oz) for 3.5 liters (0.9 gal) of water. Be sure to check tips for other watering and nutrient solutions.
Step 8: Check Nutrient Levels 📏
Make sure the buoy stays in the green position (safe area). If it shifts to the red position (alert area), add more nutrient solution. You can use a TDS meter (Total Dissolved Solids) for precise readings.
Step 9: Support Plant Growth 🌿
As the plants grow, reduce the level of nutrient solution to support healthy growth. Healthy roots should be white; if they’re brown, this indicates too much chlorine or nutrients used. Plants should grow within three weeks, and roots will start to emerge from the net pot in about five days.
Happy gardening! 🌱

Pro Tips for Success 💡
- Watch water temperature (ideal: 60-70°F/15-21°C)
- Use TDS meter for perfect nutrient balance
- Start with lettuce – it’s beginner-friendly!
- Replace plants every 6-8 weeks for continuous harvest
Ready to Start Your Hydroponic Journey? 🚀
Want to learn more about sustainable growing? Check out these resources:

🌱 Tips for Making Your Seed Growing a Little Different
- Experiment with Different Seeds 🌾
You can try growing different types of seeds (like flax seeds) instead of just lettuce. If any of these plants do not survive, be sure to remove them along with their roots promptly. - Right Nutrient Amounts 💧
Always use the correct amount of nutrients. Check the package for how much is required for the seeds you’re using. For instance, basil needs 800 ppm (“parts per million”) of nutrients. - Measuring Nutrients 📏
Use a TDS meter (Total Dissolved Solids) for precise readings. If you prefer not to buy one, you can achieve 800 ppm of nutrients by using approximately two teaspoons. - Add Nutrients Gradually 🔄
Add a little nutrient solution at a time. This helps avoid exceeding the desired amount. Over-fertilizing can burn the plants. - Transplant with Care 🌿
If you’re starting seeds in soil or another medium, watch for the first root. When it shows up, gently scoop it out. - Positioning in Growing Medium 🧪
Place the roots into the growing medium sponge until they slightly extend from the bottom. Then, add them to a net cup and insert it into the hydroponic system. - Using Rock Wool 🏗️
Rock wool is an excellent choice for starting seeds. It comes in sheets with holes. These holes are perfect for placing seeds inside. They’ll sprout in a few days, eliminating the need for transplantation.
📝 Closing Thoughts
To harvest, you can either remove the entire head of lettuce by cutting from the roots. Another method is to trim all leaves from the base. If you plan to continue your hydroponic lettuce garden, make sure to have replacement seedlings ready for replanting. Happy growing!
Questions? Let’s Connect! 🤝
Is hydroponic better than soil?
Hydroponics offers key benefits over traditional farming. It uses up to 90% less water. Production is significantly higher and crop growth is quicker. Land use for livestock decreases. Technology reduces labor costs. Environmental sustainability is enhanced by avoiding fertilizers and pesticides.
Can I plant hydroponic lettuce in soil?
I saw a question in the video A Great Hydroponic System For Beginners: Pathonor Hydroponic System and answered it. Hydroponic lettuce grows with its roots in water, so there’s no need for soil. Still, using a growing medium can help seedlings sprout and support the roots as the plant grows.
Have you tried growing hydroponic lettuce before? What challenges did you face?
Share your experience in the comments below!
Follow us on Instagram @mondosol for daily growing tips and updates! Join our gardening community
People Also Read
Save this post for later on Pinterest!
#Hydroponics #IndoorGardening #Sustainability #GrowYourOwn #LettuceGrowing #MondosolGuides


Leave a Reply